Adobe PhoneGap Build
STEPS
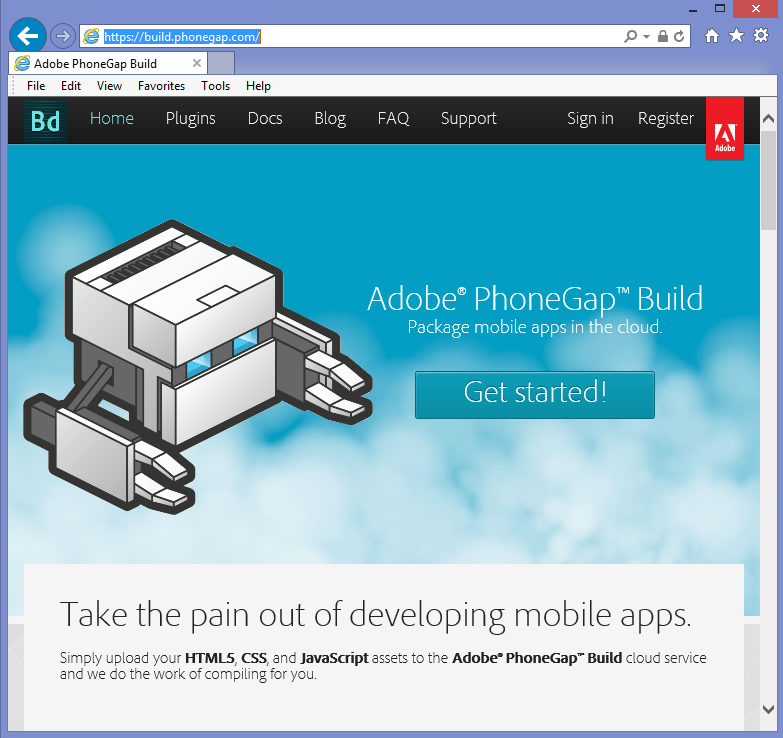
1) Browse https://build.phonegap.com/
2) Register an account.
2.1) Click Register.
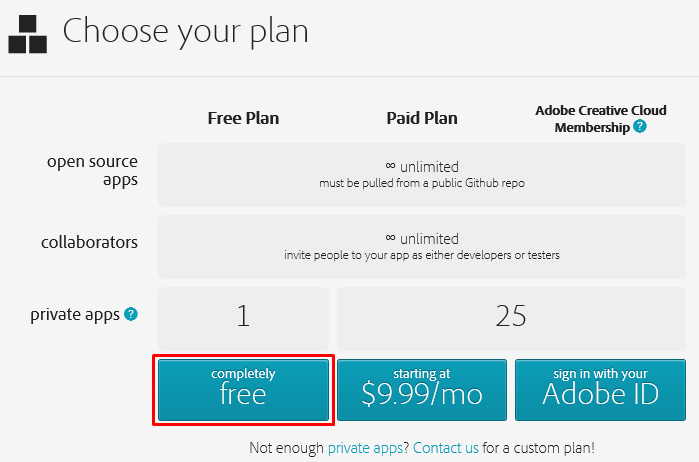
2.2) Select free plan.
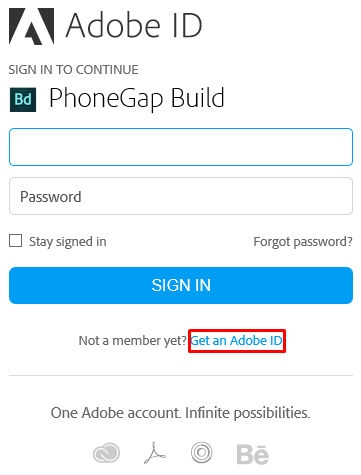
2.3) Click Get an Adobe ID (Assuming you haven’t got an Adobe ID).
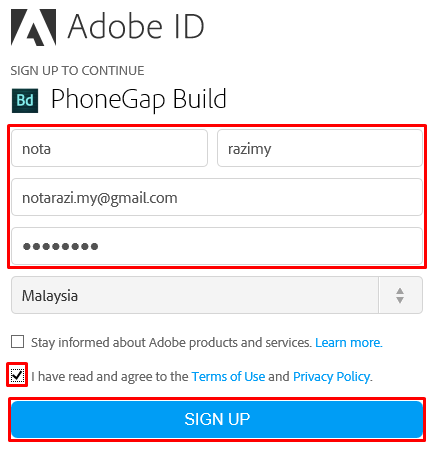
2.4) Fill-in your details and click Sign Up.
2.5) Entering your Build page.
3) Uploading Project.
3.1) Create an index.html containing the following codes:
3.2) Zip the file.
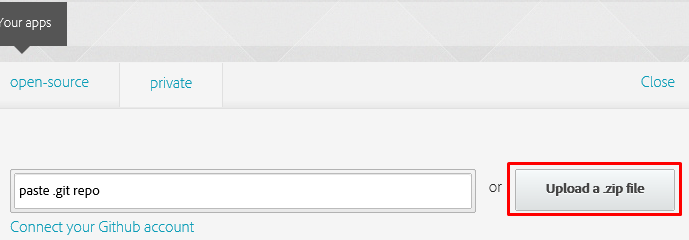
3.3) Find the upload button in your Build page.
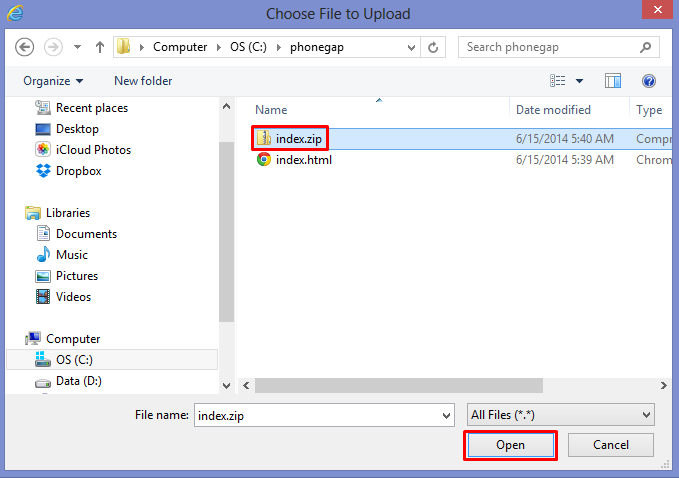
3.4) Select the zip file.
3.5) Wait for uploading process to complete.
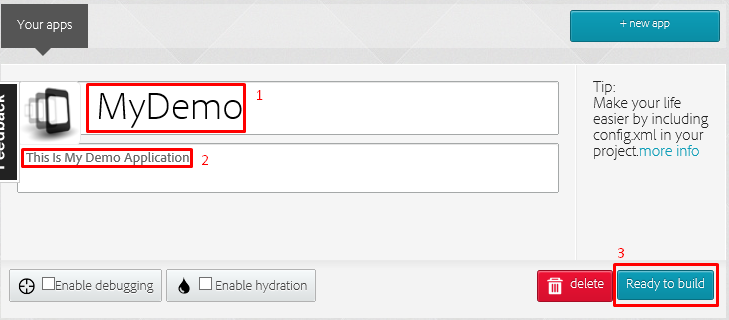
3.6) Type your App Name, App Description and click Ready to build.
3.7) Wait for build process to complete.
3.8) Once the indicator bar is full, you can download your app for local installation.
3.9) Click the Android button.
3.10) Save to your PC and copy to your Android device.
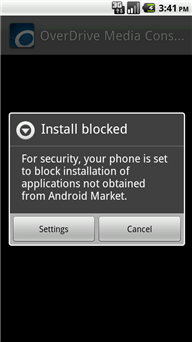
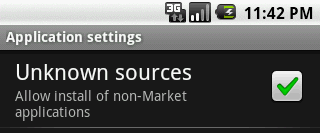
3.11) If you have “Install blocked” problem, that means you have to go to your Android Settings and select “install from unknown sources”.
3.12) You should be able to install and get the outcome as below.
4) Further Activities.
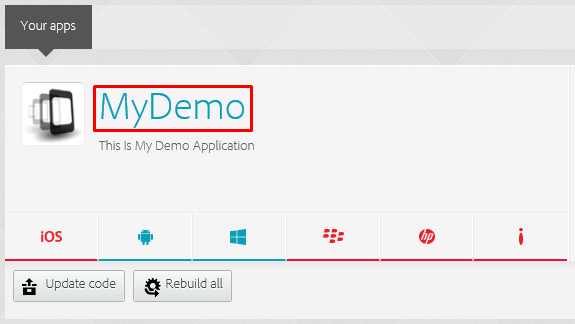
4.1) Click your current App Name.
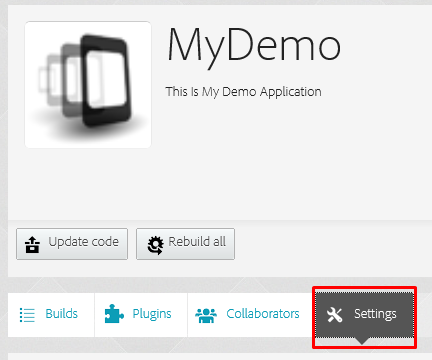
4.2) Click Settings to update your project.
STEPS
1) Browse https://build.phonegap.com/
2) Register an account.
2.1) Click Register.

2.2) Select free plan.
2.3) Click Get an Adobe ID (Assuming you haven’t got an Adobe ID).
2.4) Fill-in your details and click Sign Up.
2.5) Entering your Build page.
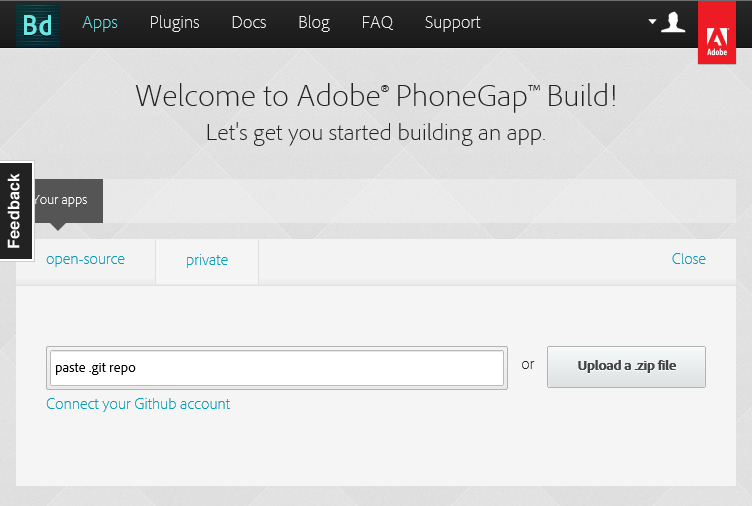
3) Uploading Project.
3.1) Create an index.html containing the following codes:
<!DOCTYPE html>
<html>
<head>
<title>Simple HTML5</title>
<style>
body {
font: medium/1.5 Arial,
Helvetica, sans-serif;
}
.button {
display: inline-block;
line-height: 1;
padding: 7px 10px;
text-decoration: none;
font-weight: bold;
color: #fff;
background-color: #39c;
-moz-border-radius: 5px;
-webkit-border-radius: 5px;
-khtml-border-radius: 5px;
border-radius: 5px;
}
</style>
</head>
<body>
<div id="wrap">
<h1>PhoneGap Test</h1>
<p><a
href="http://build.phonegap.com"
class="button">PhoneGap</a></p>
</div>
</body>
</html>
|
3.2) Zip the file.

3.3) Find the upload button in your Build page.
Click the upload button. (If you are using IE, you may need to double-click the button).
3.4) Select the zip file.
3.5) Wait for uploading process to complete.

3.6) Type your App Name, App Description and click Ready to build.
3.7) Wait for build process to complete.

3.8) Once the indicator bar is full, you can download your app for local installation.
3.9) Click the Android button.

3.10) Save to your PC and copy to your Android device.

3.11) If you have “Install blocked” problem, that means you have to go to your Android Settings and select “install from unknown sources”.
3.12) You should be able to install and get the outcome as below.

4) Further Activities.
Once you get used to Build.PhoneGap, you may want to upload further refinement to your app and change the settings such as App Name and App Icon.
4.1) Click your current App Name.
4.2) Click Settings to update your project.
You can update your code again and again. However PhoneGap doesn’t keep your previously uploaded codes. So make sure you keep a copy of all codes.
No comments:
Post a Comment